 PDF Tools
Removing pages from a PDF gets rid of a cover sheet, a blank scan, an outdated section or anything else you do not want in the final document, without retyping or rebuilding the rest of it.
What you need
- One PDF file, up to 100 MB.
- The page numbers to remove. The tool shows the total page count as soon as you add the file, so you can check the numbers against it.
How to remove pages from a PDF, step by step
- Open Remove PDF Pages and select Select files, or drag your PDF onto the upload area.
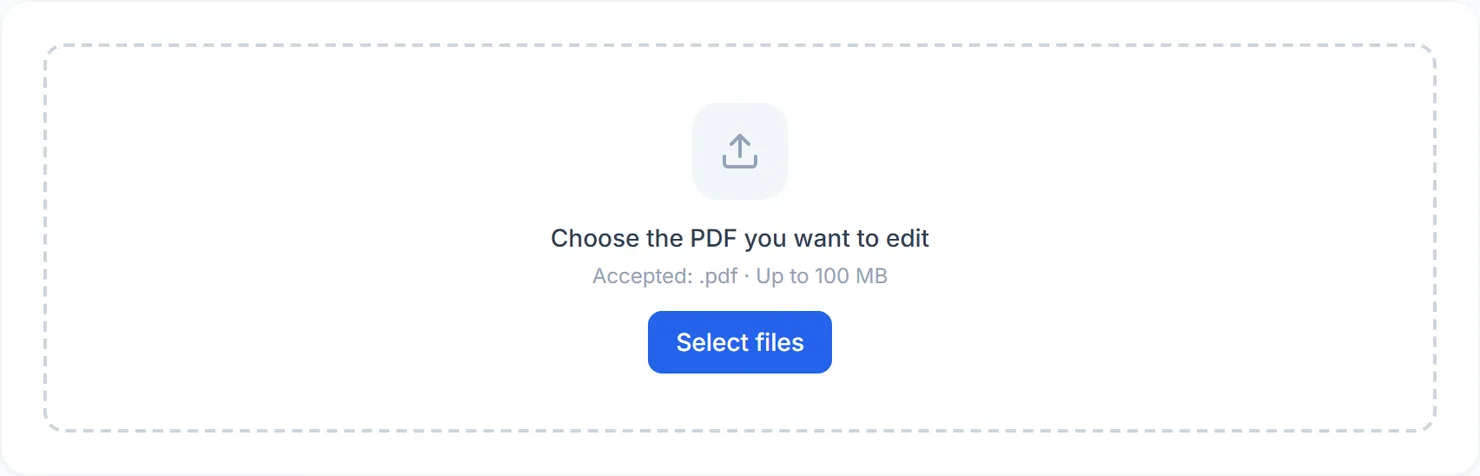
The Remove PDF Pages tool, ready for your file. - Name the pages to remove. Separate pages with commas, and use a hyphen for a range, such as 1, 3, 5-8. A preview shows exactly how many pages will go and how many will be left.
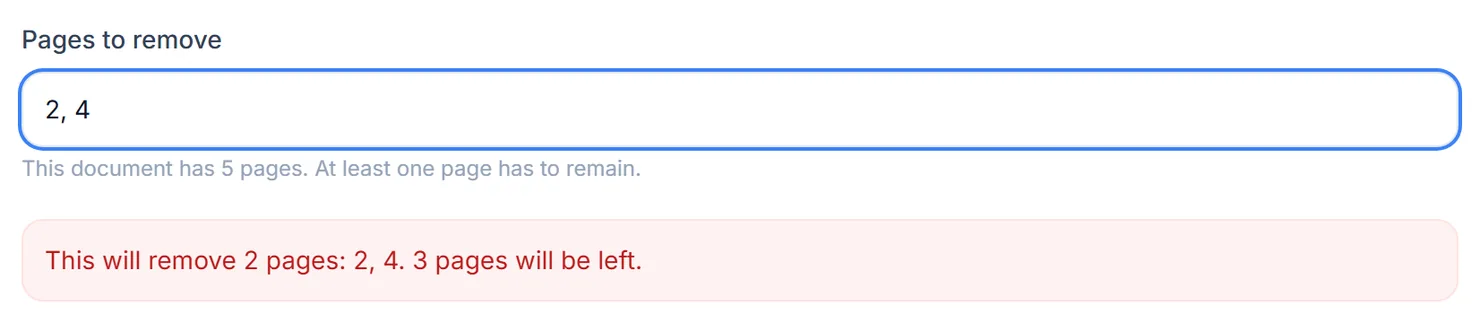
The preview confirms which pages will be removed before you run it. - Select Remove these pages. This is disabled if the pages you named would remove the entire document, since at least one page has to remain.
- Download the result. When you see Processing complete, select Download to save the tidied file.
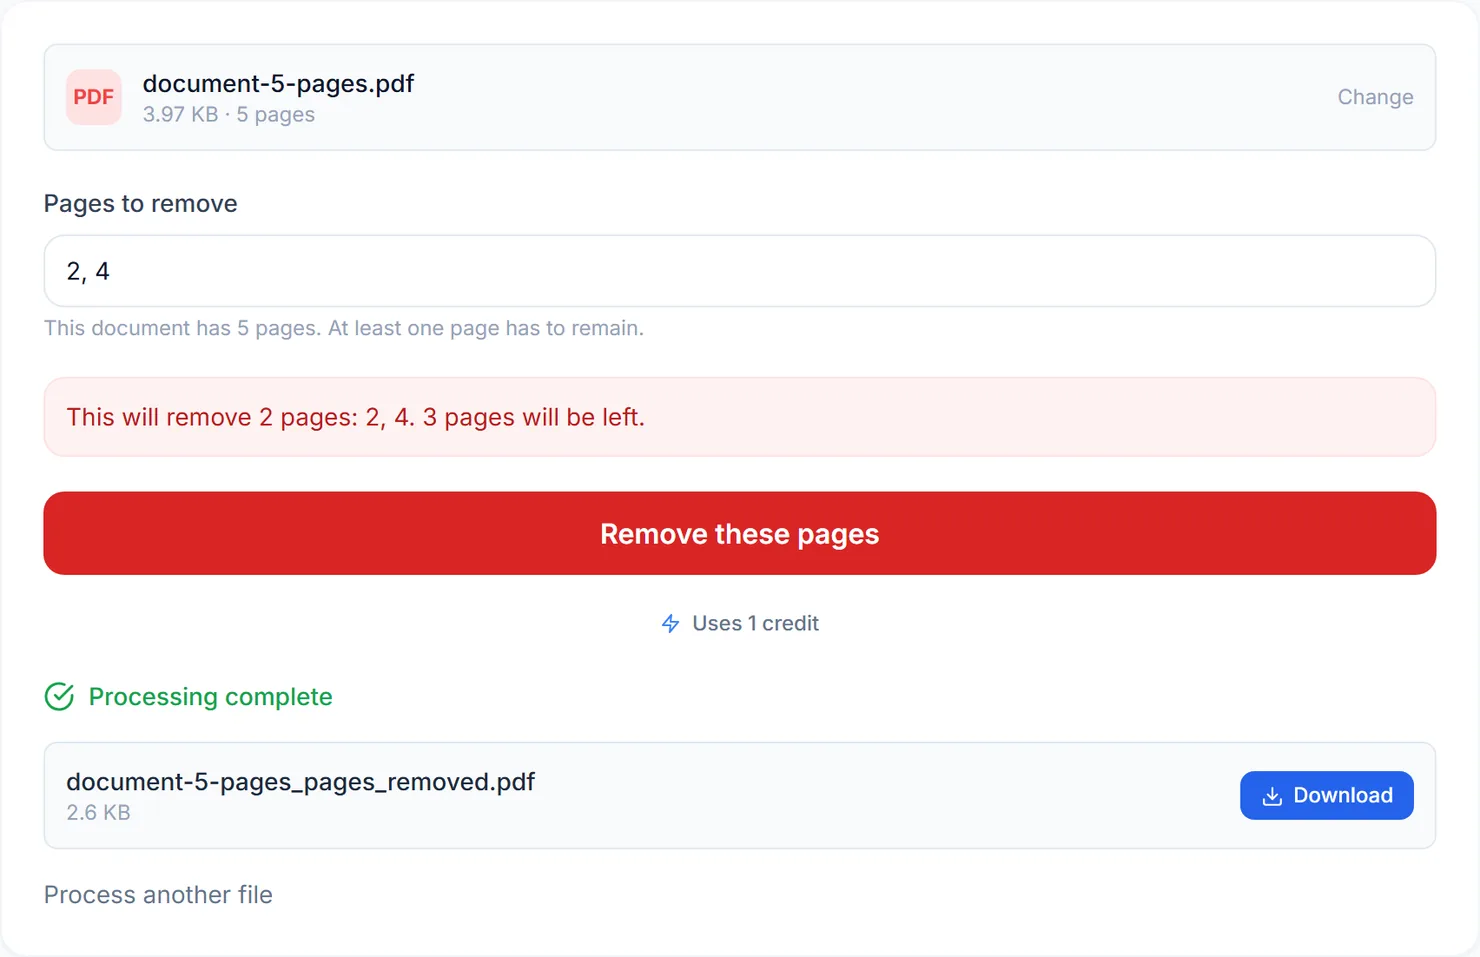
The tidied document is ready to download.
Credits: removing pages uses 1 credit, which your free daily credits cover. You get 10 free credits a day, or 25 with a free account.
A couple of things to know
If the pages you type would remove the whole document, or none of the page numbers exist in your file, the Remove these pages button stays disabled rather than showing an error message. If nothing seems to happen after you type page numbers, check that at least one page will remain and that the numbers are within your document's page count, shown next to the input.
Tips for a clean result
- Check the page count first. It is shown next to the file as soon as you add it.
- Want only certain pages, not the rest removed? Use Extract PDF Pages to copy just the pages you want into a new file.
- Need the remaining pages in a different order? Use Rearrange Pages after removing.
- Sending the file afterward? Open it once to confirm the right pages are gone before you share it.