An event QR code can hold the event name, start and end times, location, and a short description. A guest scans it to open those details in a compatible calendar app. The printed invitation can also show the essential details in plain text.
Prepare the event details
Write down the title, date, local start and end times, venue name or address, and any note guests need. Check the time zone you intend to use before entering the times. If you need a registration form or frequently changing details, use a URL QR code that opens a page you control instead.
Create the invitation in Design Studio
 Inside QR Code Generator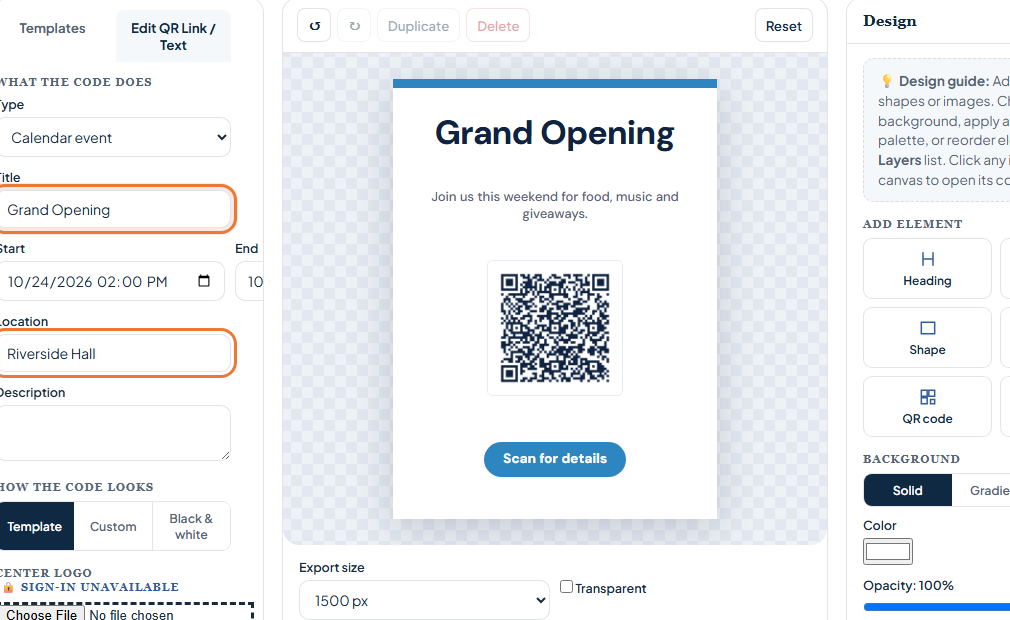
- Open the event flyer. The button below opens QR Code Design Studio with Event selected and a free event flyer template loaded.
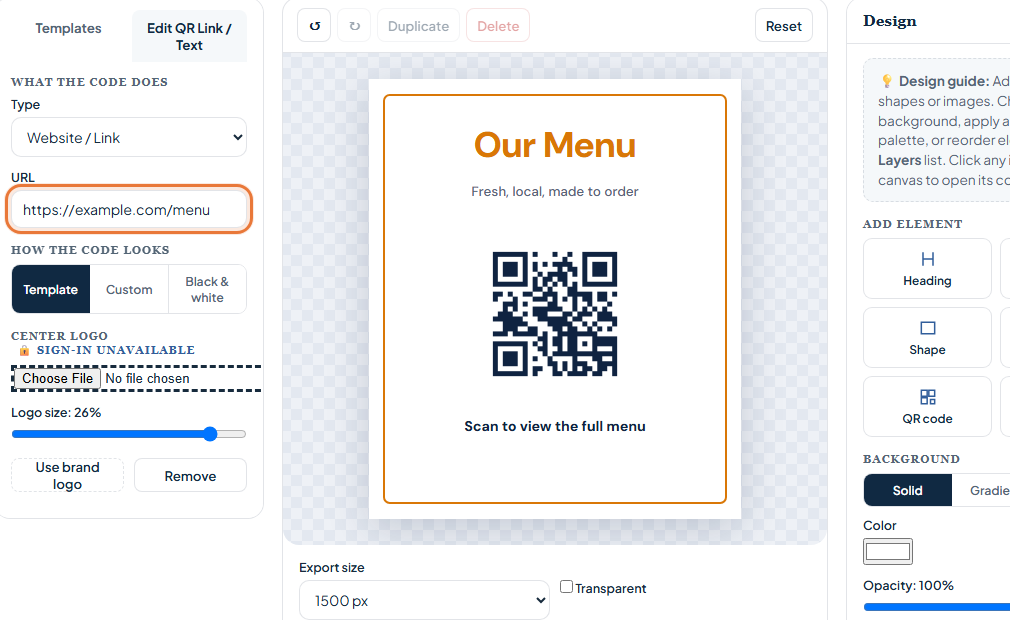
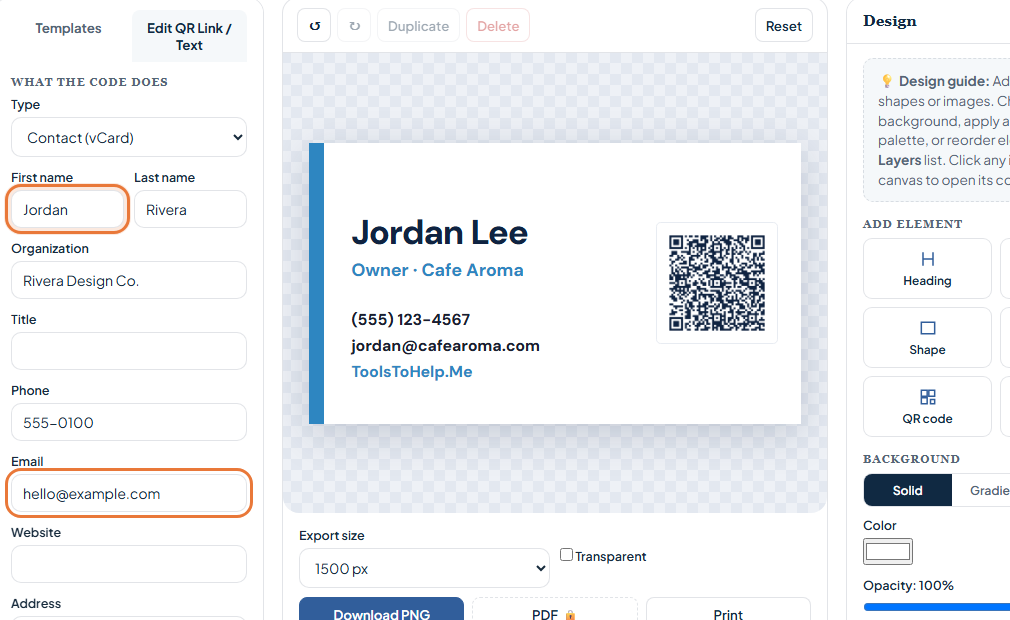
- Open Edit QR Link / Text. Enter the event title, start and end times, location, and description. These fields become the content of the QR code.
- Edit the visible invitation. Double-click the template text to replace the sample heading and event details. Keep the date and place readable even before someone scans.
- Test the scan. Scan the preview with a phone and confirm the calendar entry shows the intended date, time, and location.
- Download or print. Keep the code dark against a light area and leave clear space around it. Test a printed proof before making copies.
Calendar details or a registration link?
Use the Event type when the scan should provide calendar details. Use the URL type when the scan should open a ticket page, RSVP form, or event page. If those details might change, a page you control is easier to update than a static printed code.
Check the final print
Scan from the same distance a guest will use. Verify the code points to the right event or page, the visible date matches the encoded date, and the QR area has enough contrast. If you make a small ticket, keep the code large enough to scan comfortably.